7 Common DIY Painting Mistakes (And Exactly How to Fix Them)
1. The “Dirty Wall” Disaster
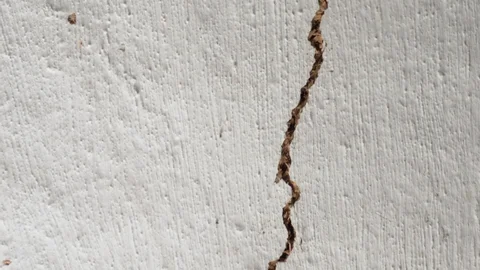
It is tempting to start rolling the second you move the furniture, but painting over dust, cobwebs, or kitchen grease is a recipe for peeling paint. Paint needs a clean surface to “bite” into.
- How to Avoid It: Wipe down your walls with a damp sponge and a mild detergent (or TSP for kitchens) at least 24 hours before painting.
- The Fix: If the paint is already bubbling or peeling because of dirt, let it dry completely. Scrape off the loose sections, sand the area smooth, clean it properly this time, and then re-prime and re-paint that section.
2. Skipping the Primer
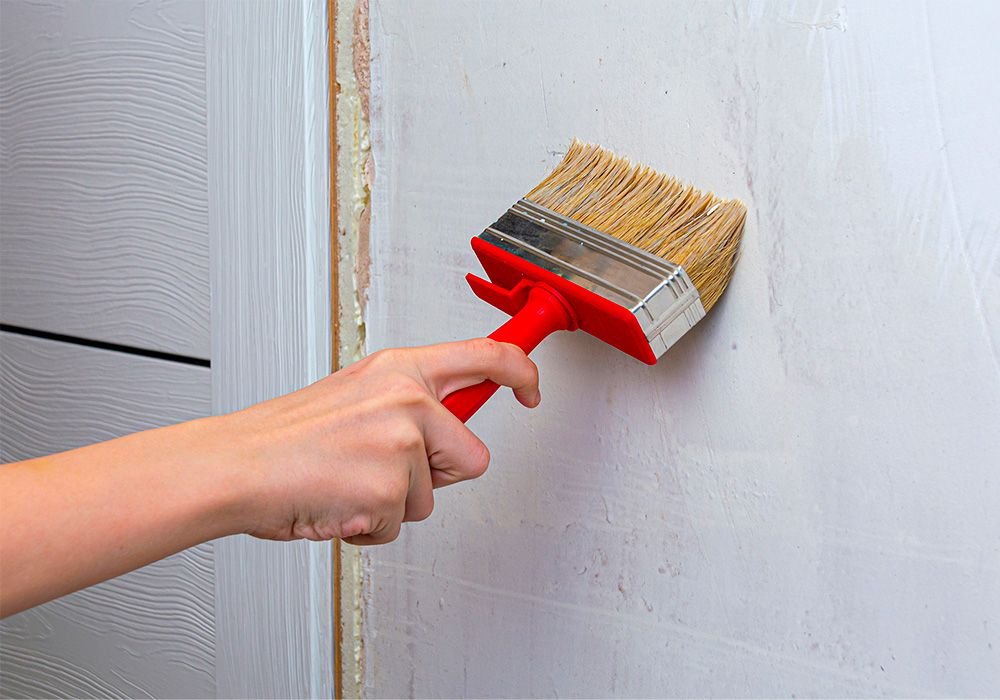
Many modern paints claim to be “Paint + Primer,” but they aren’t magic. If you are going from a dark color to a light one, or painting bare drywall/wood, skipping a dedicated primer will lead to uneven color and “flashing.”
- How to Avoid It: Use a high-quality primer if the surface is porous or the color change is drastic.
- The Fix: If your new color looks streaky or the old color is bleeding through after two coats, stop. Apply a coat of primer over the new paint, then finish with your final color. It’s better to add one coat of primer now than five coats of expensive paint later.
3. The “Cheap Tape” Nightmare
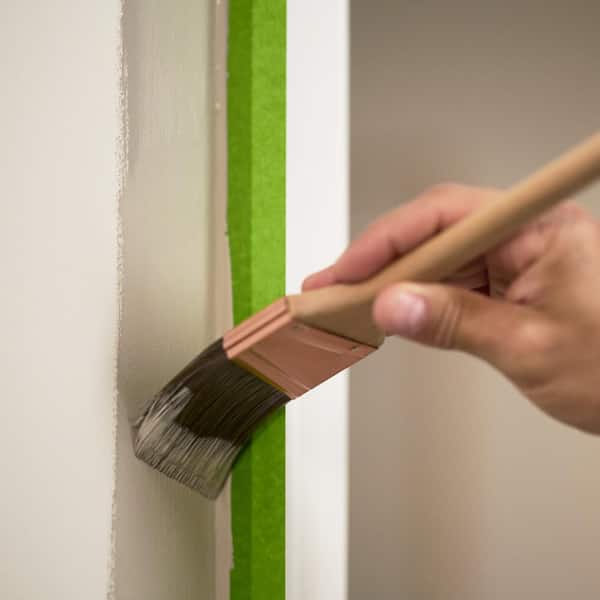
Not all painter’s tape is created equal. Cheap masking tape often allows paint to seep underneath, leaving you with jagged, blurry lines instead of crisp edges.
- How to Avoid It: Invest in premium “edge-lock” painter’s tape. Once applied, run a damp cloth or your fingernail over the edge to seal it firmly.
- The Fix: If you pull the tape and see bleeding, wait for the paint to dry. Use a small artist’s brush to carefully touch up the line with the trim color. If the bleed is on glass, a razor blade can carefully scrape away the excess once it’s dry.
4. Visible Lap Marks (The “Stripey” Wall)
Lap marks are those annoying vertical stripes that appear when you paint over a section that has already started to dry. This usually happens when you don’t maintain a “wet edge.”
- How to Avoid It: Work in small sections (about 2-3 feet wide) and roll from top to bottom. Never let the edge of your paint dry before you start the next row.
- The Fix: You cannot “fix” lap marks by painting over them while wet—you’ll just make them thicker. Let the wall dry completely. Lightly sand the ridges with fine-grit sandpaper, then apply a final, even coat over the entire wall, ensuring you maintain a wet edge the whole time.
5. Overloading the Brush (The Drip Effect)
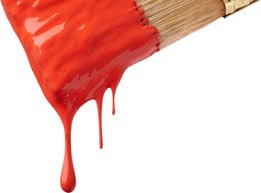
In an effort to finish faster, many DIYers dunk the whole brush into the can. This leads to heavy drips on the wall and paint drying in the bristles, ruining the brush.
- How to Avoid It: Only dip the bottom 1/3 of your bristles into the paint. Tap the brush against the side of the can to remove excess rather than wiping it off.
- The Fix: If you spot a “run” or a drip while it’s still wet, lightly brush it out. If it has already dried into a hard “tear,” sand the drip flat until it’s flush with the wall, then touch up the spot with a small brush or mini-roller.
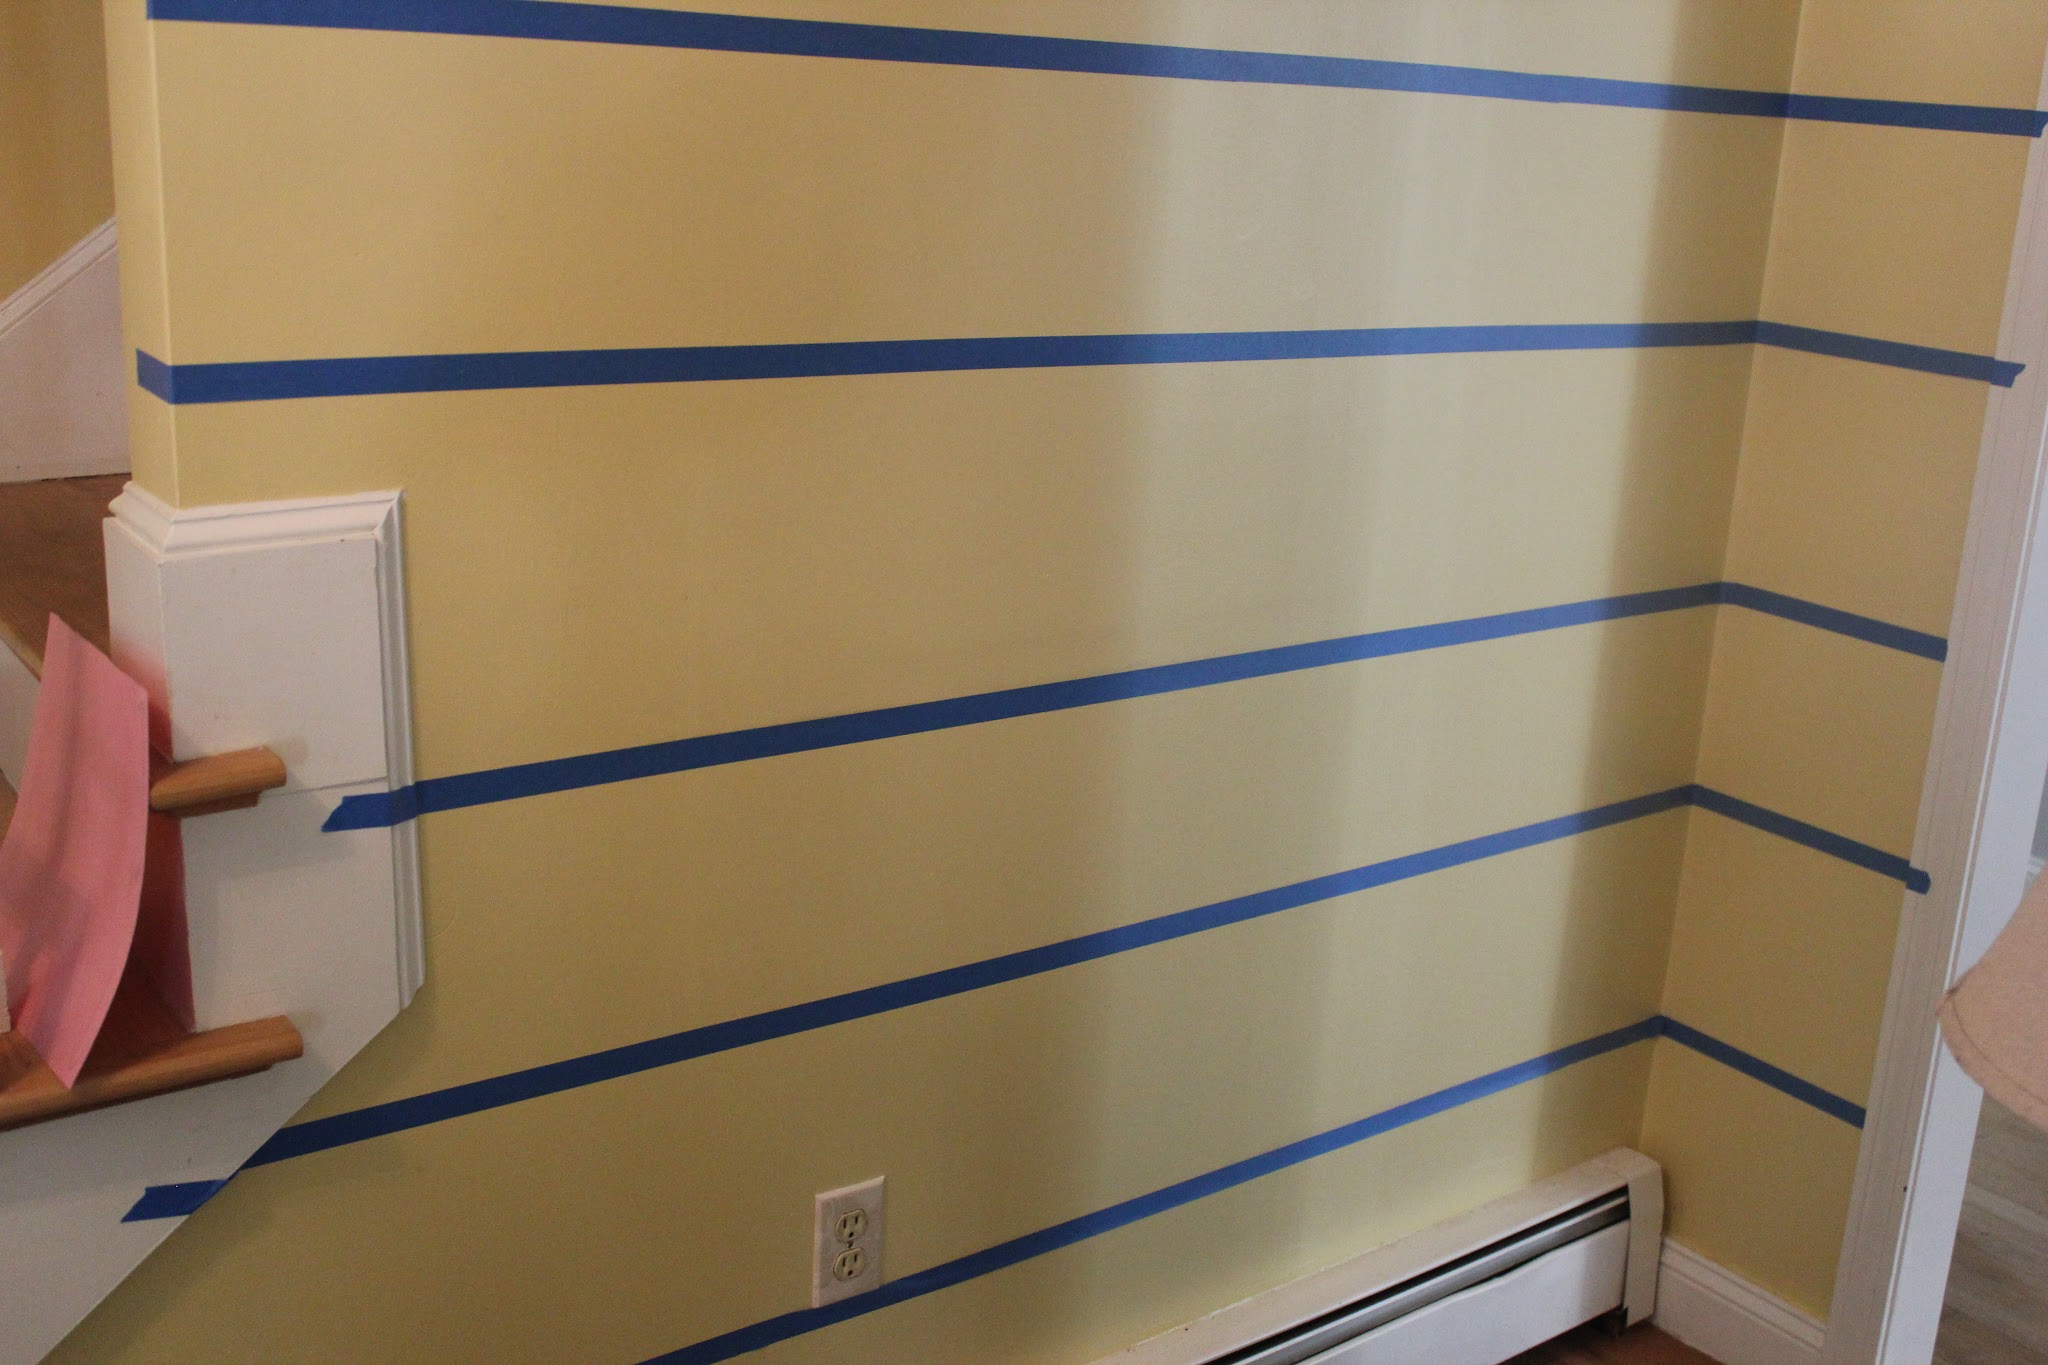
6. Removing Tape Too Late
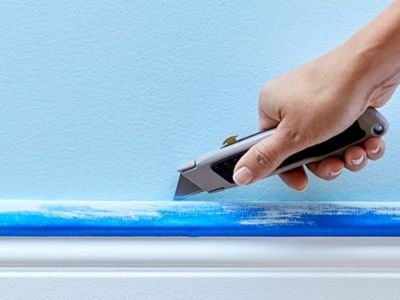
Many people wait until the paint is 100% dry to pull the tape. Unfortunately, dried paint forms a continuous film over the tape and the wall. When you pull the tape, you often pull chunks of paint off the wall too.
- How to Avoid It: Pull the tape while the paint is still “tacky”—usually about 30 to 60 minutes after the final coat.
- The Fix: If the paint is already bone-dry, use a sharp utility knife to gently score the edge where the tape meets the wall. This breaks the seal and allows the tape to come away without taking the wall color with it.
7. Painting in High Humidity

If you are painting during a rainy week or in a humid climate without A/C, your paint will take significantly longer to dry. This leads to surfactant leaching (brownish spots) or a “tacky” feel that lasts for days.
- How to Avoid It: Check the weather. Ideally, you want humidity levels below 50%.
- The Fix: If your paint is still tacky after 24 hours, set up a dehumidifier or a fan to increase air circulation. Do not apply a second coat until the first is completely hard to the touch, or you risk the paint never curing properly.
Ready to start your project? Don’t let the fear of mistakes stop you! With the right prep and a little bit of patience, you can achieve a professional finish. Keep following Coloursbazaar for more practical DIY advice and the latest in home decor trends.