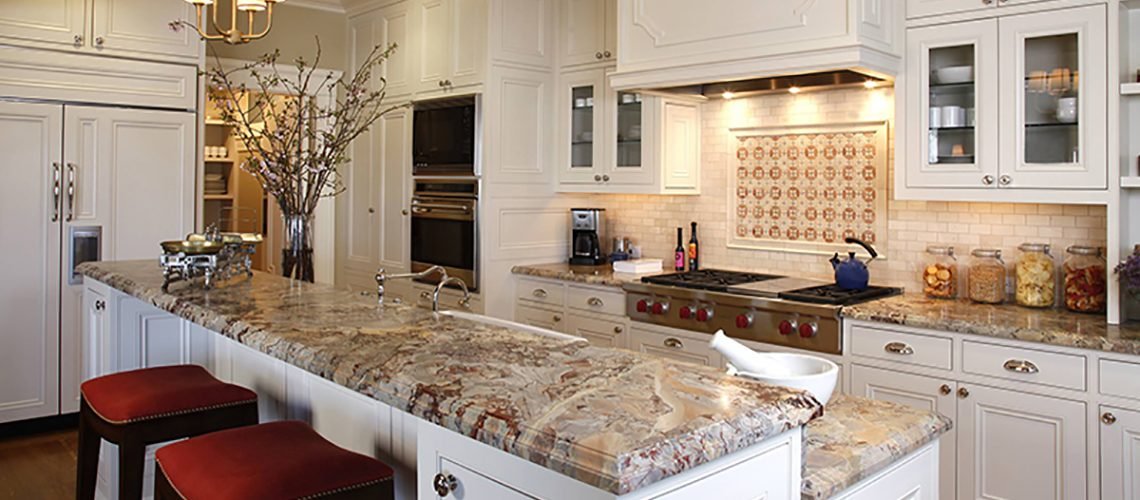
A full kitchen remodel is one of the most expensive projects you can undertake as a homeowner. But if your cabinets are structurally sound and you just hate the dated, 1990s honey-oak finish, you don’t need a demolition crew. You just need a few cans of paint.
Painting kitchen cabinets is a massive DIY trend, and for good reason: it offers the highest return on investment of almost any home project. However, it is also the project with the highest failure rate.
We have all seen painted cabinets that start chipping around the handles within a month. Why does this happen? Because people rush the prep work. The secret to a factory-smooth, highly durable cabinet makeover isn’t the paint you buy—it is the work you do before you even open the paint can. Here is the right way to paint your kitchen cabinets.
Step 1: Disassemble and Label Everything
Do not try to paint your cabinet doors while they are still attached to the frames. It will lead to drips, missed edges, and a messy finish.
- Remove all doors, drawers, hinges, and hardware.
- The Pro Tip: Use a piece of masking tape to label the back of every single door and its corresponding hinge (e.g., “Top Left Sink”). If you have 20 doors, you will absolutely forget which one goes where, and reinstalling them will be a nightmare.
Step 2: The Heavy-Duty Degrease
Kitchens are inherently greasy. Even if your cabinets look perfectly clean, years of cooking oil, steam, and hand oils have created an invisible film over the wood. Paint will not stick to grease. * Skip the standard household cleaners. You need a heavy-duty degreaser like TSP (Trisodium Phosphate) or a strong citrus degreaser.
- Scrub every inch of the doors, drawers, and cabinet frames using a rough sponge.
- Wipe them down with a clean, damp rag to remove any soapy residue, and let them dry completely.
Step 3: Sanding (The “Scuff”)
Many people are terrified of sanding, but you don’t need to sand your cabinets down to bare, raw wood. You just need to remove the glossy topcoat so your primer has something to “bite” into. This is called a scuff sand.
- Take a medium-grit sandpaper (120 to 150-grit) or a sanding block and lightly sand all surfaces.
- Pay special attention to the areas around the handles and the molded edges, as these see the most wear and tear.
- Once finished, use a tack cloth or a shop vacuum to remove every speck of dust. If you paint over dust, you will get a bumpy finish.
Step 4: Use a Serious Bonding Primer
If you skip this step, your project will fail. Standard wall primer or “Paint + Primer in One” will not work on cabinets. Kitchen cabinets undergo heavy abuse and require a specialized foundation.
- You must use a Bonding Primer. If your cabinets are raw wood or a dark, heavily stained wood (like cherry or mahogany), use a shellac-based or oil-based primer. These are specifically designed to block wood tannins from bleeding through your beautiful new paint job.
- Apply one even coat and let it dry according to the can’s instructions.
- Once dry, lightly run a very fine sandpaper (220-grit) over the primer to knock down any brush strokes, and wipe away the dust.
Step 5: Applying the Paint
Now, finally, the fun part. Again, standard latex wall paint is too soft for cabinets. You need a paint that dries to a hard, durable shell.
- Purchase a high-quality Cabinet Enamel or an Acrylic-Alkyd blend.
- Application: For a factory-like finish, a paint sprayer is best. If you don’t have one, use a high-quality synthetic angled brush to get into the grooves, and immediately follow up with a high-density foam roller on the flat areas. Foam rollers leave a perfectly smooth finish without the fuzzy texture a standard wall roller leaves behind.
- Apply two to three thin coats, allowing plenty of drying time between each. Thin coats are much stronger than one thick, drippy coat.
Step 6: The “Cure” Time
This is where many DIYers ruin their hard work. Paint dries to the touch in a few hours, but it takes up to 30 days to fully cure (reach its maximum hardness).
Wait at least 48 hours before reattaching your doors and hardware. Once they are up, treat them incredibly gently for the next three to four weeks. Use the handles, avoid scrubbing them, and let the enamel fully harden.
It takes a lot of elbow grease, but taking the time to properly prep, prime, and paint your kitchen cabinets will save you thousands of dollars and completely transform the heart of your home!
Leave a Comment